Introduction
Rural landowners and homesteaders are increasingly drawn to drilling their own water well. Cutting out contractor fees and gaining control over a personal water source has real appeal, especially with utility costs climbing every year.
More than 43 million Americans, roughly 15% of the population, already rely on private domestic wells for their water supply, according to the U.S. Geological Survey.
Renting a rig and drilling yourself can look simple on paper. In practice, results swing wildly based on your local geology, the equipment you choose, and how carefully you execute each step.
This guide walks through whether DIY drilling suits your property, what you need before starting, and the exact process from permit to pump. It also covers the variables that determine success and the mistakes that sink most first-time projects.
Key Takeaways
- DIY well drilling works best in shallow, soft-soil water tables with proper permits
- Right rig and bit selection, plus quick casing and gravel pack work, drive success
- Expect a multi-day process: site prep, pilot hole, casing, development, and testing
- Skipped permits, mismatched equipment, and rushed casing cause most DIY failures
- Confirm state and county licensing rules, since DIY drilling isn't legal everywhere
How to Drill Your Own Water Well: Step-by-Step
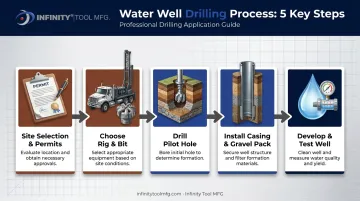
Step 1: Select Your Well Site and Secure Permits
Start by researching local aquifer depth and geology through your state or county water resources department. Many maintain public well-log databases that show construction records and subsurface conditions from nearby properties.
Before you touch a shovel:
- Obtain a well construction permit from your local health or environmental agency
- Confirm setback distances from septic systems, property lines, and other contamination sources (these vary significantly by state)
- Verify accessibility for a drill rig and clear a work area roughly 20x20 feet
Setback rules are not standardized nationally. Some states require just 10 feet from a property line, while others mandate 75 feet from septic components. Check your specific state code before finalizing a site.
Step 2: Choose Your Drill Rig and Drill Bit
Rig and bit selection is where most DIY projects succeed or fail. Match your rig type, mechanical, hydraulic, or trailer-mounted, to your expected depth and soil conditions.
Mud rotary vs. air rotary:
- Mud rotary circulates drilling fluid down the pipe, stabilizing loose or unconsolidated formations
- Direct air rotary drills faster but can be overwhelmed when a high-yield aquifer floods the return airflow
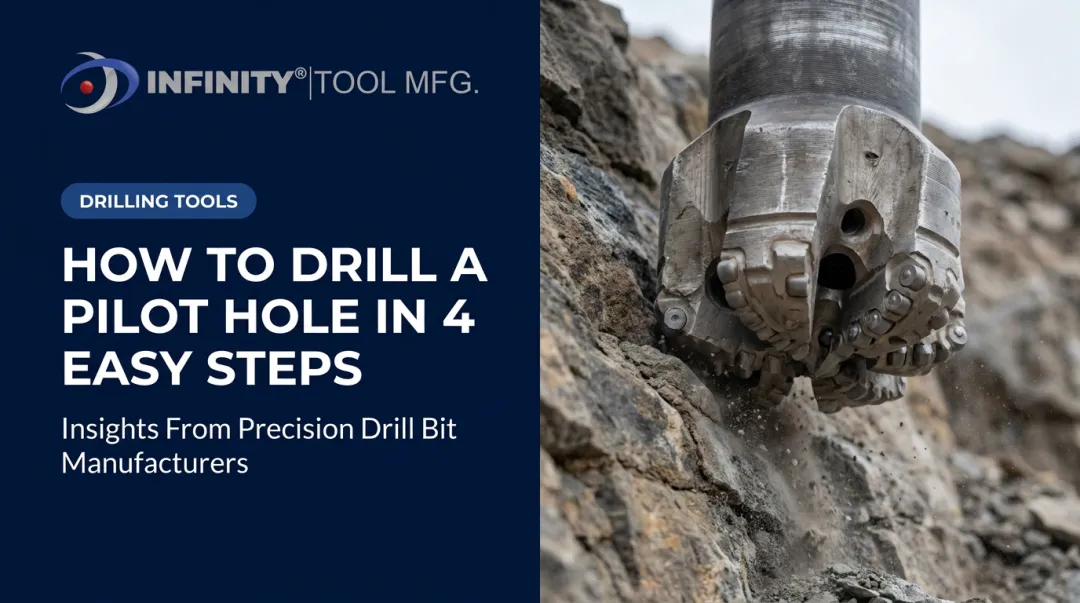
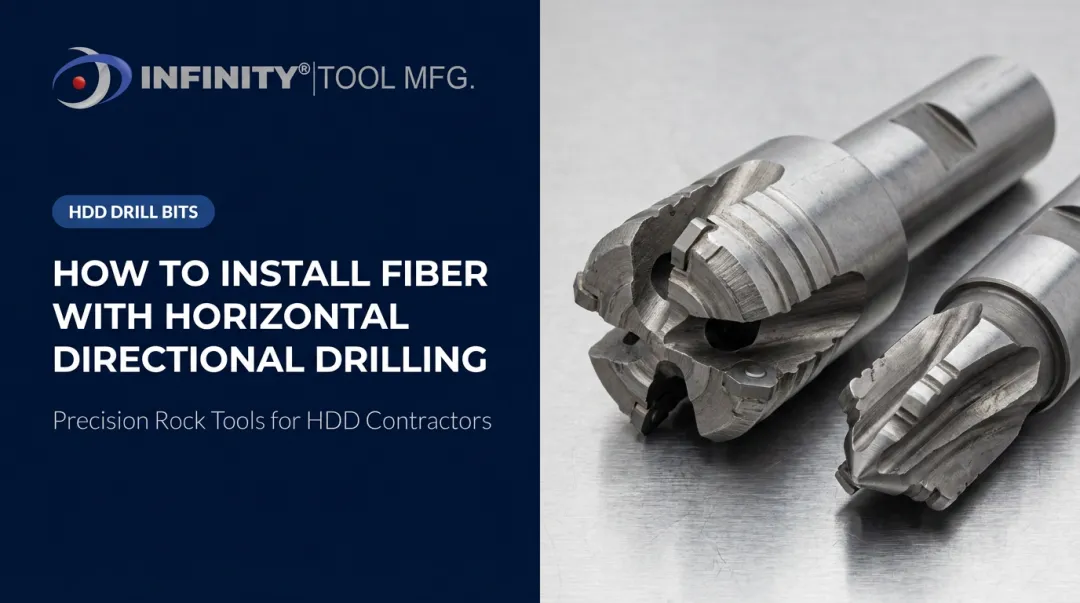
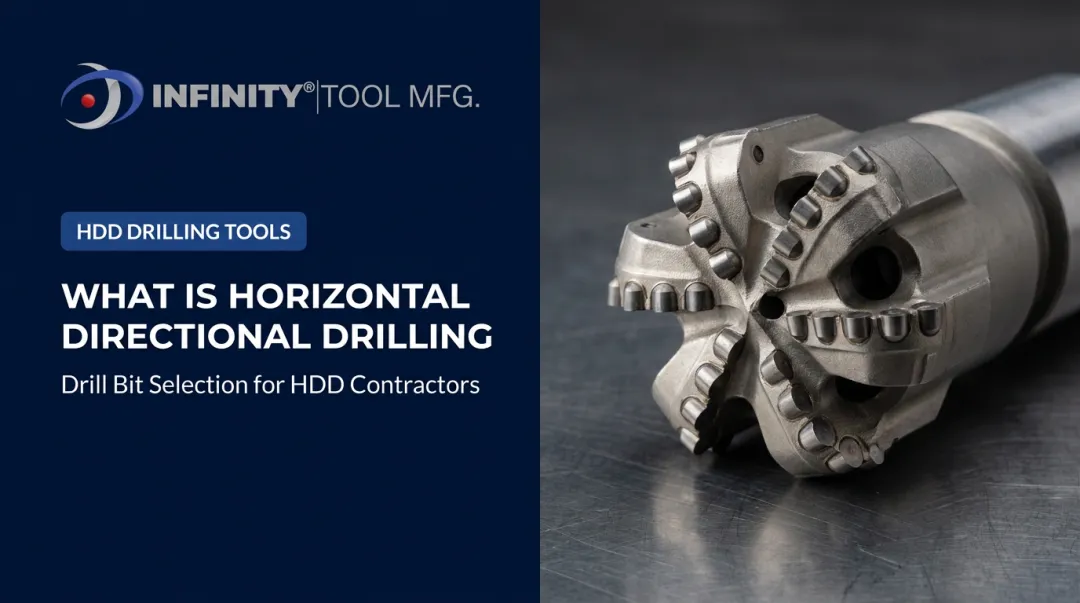
Bit selection follows formation hardness. Drag bits handle soft clay and sand well. PDC bits shear through low-to-medium hardness rock, such as shale, sandstone, and limestone. DTH hammer bits take over once you hit harder rock.
Purpose-built bits matter here. Infinity Tool MFG's Big Flush PDC bits, for instance, are engineered for mixed-ground water well conditions, sand, shale, limestone, and sticky clay. They use a high-volume, low-pressure flush to prevent nozzle clogging while maintaining penetration rate. Their DTH hammer bits cover 2 to 18 inches for harder formations further down the hole.
Beyond the rig and bit, you'll need:
- Drill pipe sized to your target depth
- A mud pump or air compressor, depending on method
- Casing and well screen
- Basic safety gear (gloves, eye protection, hearing protection)
Step 3: Drill the Pilot Hole and Advance the Borehole
Begin with a small-diameter pilot hole. This confirms aquifer location and depth while letting you log cuttings as you go, a critical record for deciding your final casing depth.
Watch for these signs you've hit a water-bearing formation:
- Cuttings texture shifts from dry and dusty to damp or saturated
- Mud consistency changes noticeably
- Drilling resistance drops or fluctuates
Advance the borehole to target depth while maintaining steady fluid or air circulation. This keeps cuttings clearing properly and prevents them from settling back down the hole.
For reference, the national median depth for domestic-supply wells is 142 feet, according to USGS data. That's a nationwide figure, not a site prediction. Your actual depth depends entirely on local aquifer conditions, so lean on regional well logs rather than a national average.
Step 4: Ream, Install Casing, and Add Gravel Pack
Once you've confirmed depth, ream the pilot hole to the final diameter needed for your casing and screen assembly.
From here, speed matters:
- Lower casing and screen immediately after reaming; don't leave an open borehole sitting overnight
- Flush out drilling fluid thoroughly before placing gravel
- Add clean, rounded gravel pack around the screened section to filter sediment and support long-term yield
Delaying casing installation is one of the most common reasons DIY boreholes collapse. Treat reaming, casing, and gravel packing as one continuous operation, not three separate work sessions.
Step 5: Develop, Test, and Complete the Well
Well development clears fine sediment left behind from drilling and improves flow from the aquifer into your casing. Common methods include:
- Surging (moving water up and down to dislodge fines)
- Pumping at increasing rates
- Airlift swabbing
Test yield in gallons per minute (gpm) and monitor how quickly water level recovers after pumping stops. Local approval standards for acceptable yield vary widely, so check what your county actually requires before assuming your numbers pass.
Finish the job by disinfecting the well (shock chlorination is standard practice), installing your pump and pressure system, then sending a water sample to a certified lab for bacteria, nitrate, and mineral testing.
When Should You Drill Your Own Water Well?
DIY drilling isn't the right call for every property or every driller's comfort level. Your geology and local regulations decide that, not enthusiasm.
DIY tends to work well when:
- Your water table sits shallow
- Soil is sandy or loamy rather than solid rock
- You need a low-capacity domestic or irrigation well only
Hiring a licensed professional makes more sense when:
- You're drilling into deep bedrock
- You need a high-capacity farm or municipal-scale well
- Local geology is largely unknown
- Your state mandates licensed oversight regardless of DIY interest
That last point trips up a lot of first-timers. Tennessee, for example, requires anyone drilling a water well, including landowners on their own property, to hold a state driller's license. Skip that step and you risk fines, a shut-down rig, or a well the state won't let you use.
What You Need Before Drilling Your Own Water Well
Thorough preparation directly determines whether your DIY well succeeds or fails. Rushing this stage is where most projects go sideways before the drill bit ever touches soil.
Equipment and Tools
Core equipment includes:
- An appropriately sized drill rig for your target depth
- Drill pipe
- Casing and screen
- A mud pump or air compressor, depending on your drilling method
Having the correct bit type for your local rock and soil conditions matters just as much as the rig itself. A mismatched bit slows penetration and wears out fast, regardless of how capable your rig is. Equipment alone won't get you approved to drill, though; permits are the next hurdle.
Permits and Legal Requirements
Required permits typically include:
- A well construction permit
- Water rights approval (particularly in western states)
- County health department sign-off
Some states legally require a licensed driller to perform or supervise the work, even for private residential wells. Confirm this before you buy or rent equipment, not after. With permits in hand, the final step is preparing your site and safety plan.
Site and Safety Readiness
Before any digging starts:
- Call 811 to confirm underground utility clearance (free, nationwide service)
- Prepare a level, obstacle-free work area
- Make sure the operator has basic rig training and proper PPE
Key Factors That Affect Your Well Drilling Results
Outcomes hinge on how well you control a handful of variables during the job. Get these right and everything else tends to fall into place.
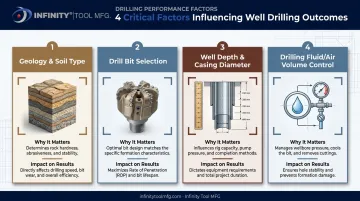
Geology and Soil Type
Why it matters: Geology determines whether mud rotary or air rotary drilling, and which bit type, will work efficiently.
Impact on results: Using the wrong method or bit for hard rock versus soft soil leads to slow penetration or premature equipment wear. For example, running an air rotary rig through saturated clay often triggers hole collapse, while forcing mud rotary through solid granite wastes fluid and time.
Drill Bit Selection
Why it matters: PDC, drag, and DTH bits are each engineered for different formation hardness levels.
Impact on results: Choosing a bit matched to your geology improves penetration rate and protects cutting edges from chipping in mixed soil and rock conditions. Infinity Tool MFG's PDC and DTH bits, for example, are engineered specifically for water well applications where soil and rock composition can shift within a single hole.
Well Depth and Casing Diameter
Why it matters: Depth affects required rig capability and which pump type, jet or submersible, you'll need later.
Impact on results: An inaccurate depth estimate or undersized casing can cause insufficient yield or borehole collapse. A well drilled even 20 feet short of the water table, for instance, may never produce enough flow for a household system.
Drilling Fluid or Air Volume Control
Why it matters: Proper circulation clears cuttings and stabilizes borehole walls throughout drilling.
Impact on results: Inadequate fluid or air volume causes cuttings buildup, stuck pipe, or a collapsed hole. Even a brief loss of circulation in loose sand can force you to pull the entire drill string just to clear the blockage.
Common Mistakes and Troubleshooting Tips
Common Mistakes
- Skipping permit and regulatory research before breaking ground
- Choosing a drill bit or rig mismatched to local geology, slowing progress or damaging equipment
- Delaying casing installation after reaching depth, risking borehole collapse
When one of these missteps happens, quick diagnosis keeps the project on track.
Quick Troubleshooting Tips
| Problem | Likely Cause | What to Check or Adjust |
|---|---|---|
| Borehole collapses before casing is installed | Too much time elapsed between reaching depth and installing casing/gravel pack | Complete reaming, casing, and gravel packing as one continuous operation without pausing |
| Low or no water yield during testing | Insufficient well development or drilling into a weak aquifer zone | Continue surging or pumping to develop further; consider relocating or deepening if yield doesn't improve |
Frequently Asked Questions
How much does it cost to drill or re-drill a water well?
Drillers typically calculate cost per foot drilled, with pricing varying by depth, geology, casing material, and drilling method. Get local quotes since regional pricing swings widely.
Is it worth drilling a well?
Long-term water independence and lower monthly costs can outweigh the upfront investment, but weigh that against equipment, permitting, and time commitments before deciding.
How deep should a water well be drilled?
Depth depends entirely on your local aquifer, not a fixed number. Check a boring log or your county's water resource data before budgeting time or materials.
Can I legally drill my own water well?
It depends on your state and county. Some jurisdictions permit owner drilling freely, while others require a licensed driller regardless of DIY intent, so confirm before you start.
How long does it take to drill a water well yourself?
Timelines range from one to several days depending on depth, geology, and equipment used. Reaming, casing, and well development typically add extra time beyond the initial drilling.
What size drill bit do I need for a residential water well?
Crews usually drill pilot holes at a smaller diameter before reaming to the final casing diameter. Exact sizing depends on your specific well design and local casing requirements.